

Key Takeaways
-
Local tunneling creates secure connections between your localhost and the internet, enabling external access to development servers without complex network configurations
-
Popular tools like ngrok, LocalCan, and Pinggy offer simple one-command setup for HTTP, TCP, and UDP tunneling with various pricing models and features
-
Essential for webhook testing, remote collaboration, and bypassing NAT/firewall restrictions in development workflows
-
Security measures including authentication, encryption, and access controls are crucial when exposing local services to prevent unauthorized access
-
Custom domains and SSL certificates can be configured for professional deployments and seamless integration with existing infrastructure
What is Local Tunneling?
Local tunneling is a networking technique that creates secure connections between services running on your local machine and the public internet. This method allows external users and services to access your localhost applications without requiring complex network configurations, port forwarding rules, or VPN setups.
At its core, local tunneling bypasses Network Address Translation (NAT) and firewall restrictions that typically prevent direct access to local services. Unlike traditional port forwarding, which requires router configuration and static IP addresses, local tunneling uses a reverse proxy mechanism to establish outbound connections from your local machine to a tunneling service.
The fundamental difference between local tunneling and VPN solutions lies in scope and complexity. While VPNs create secure network-to-network connections requiring infrastructure setup, local tunneling provides instant access to specific local services through simple command line tools. This makes tunneling ideal for temporary access, development workflows, and scenarios where full network access isn’t necessary.
How Local Tunneling Works
Local tunneling operates through a client-server architecture where your local machine runs a tunneling client that connects to remote tunnel servers. These servers act as intermediaries, routing traffic between the public internet and your localhost services.
The process begins when you start a local tunnel client, which establishes a secure connection to the tunneling service’s servers. The tunnel server then provides a public endpoint - typically a unique URL or IP address - that external users can access. When traffic arrives at this public endpoint, the tunnel server forwards it through the established connection to your local service running on a specified port.
This reverse proxy mechanism ensures that your local machine initiates all connections, maintaining security while enabling external access. The tunnel client continuously maintains the connection with the server, creating a persistent pathway for bidirectional communication between the internet and your local network.
Most tunneling services support multiple protocols including HTTP, HTTPS, TCP, and UDP tunneling methods. HTTP tunnels provide web-accessible endpoints with automatic SSL certificates, while TCP tunnels enable access to databases, SSH servers, and other TCP-based services. UDP tunnels support real-time applications like gaming servers or VoIP systems.
Popular Local Tunneling Tools and Services
The market offers numerous tunneling solutions, each with distinct features, pricing models, and target audiences. Understanding these options helps you choose the right tool for your specific requirements.
ngrok
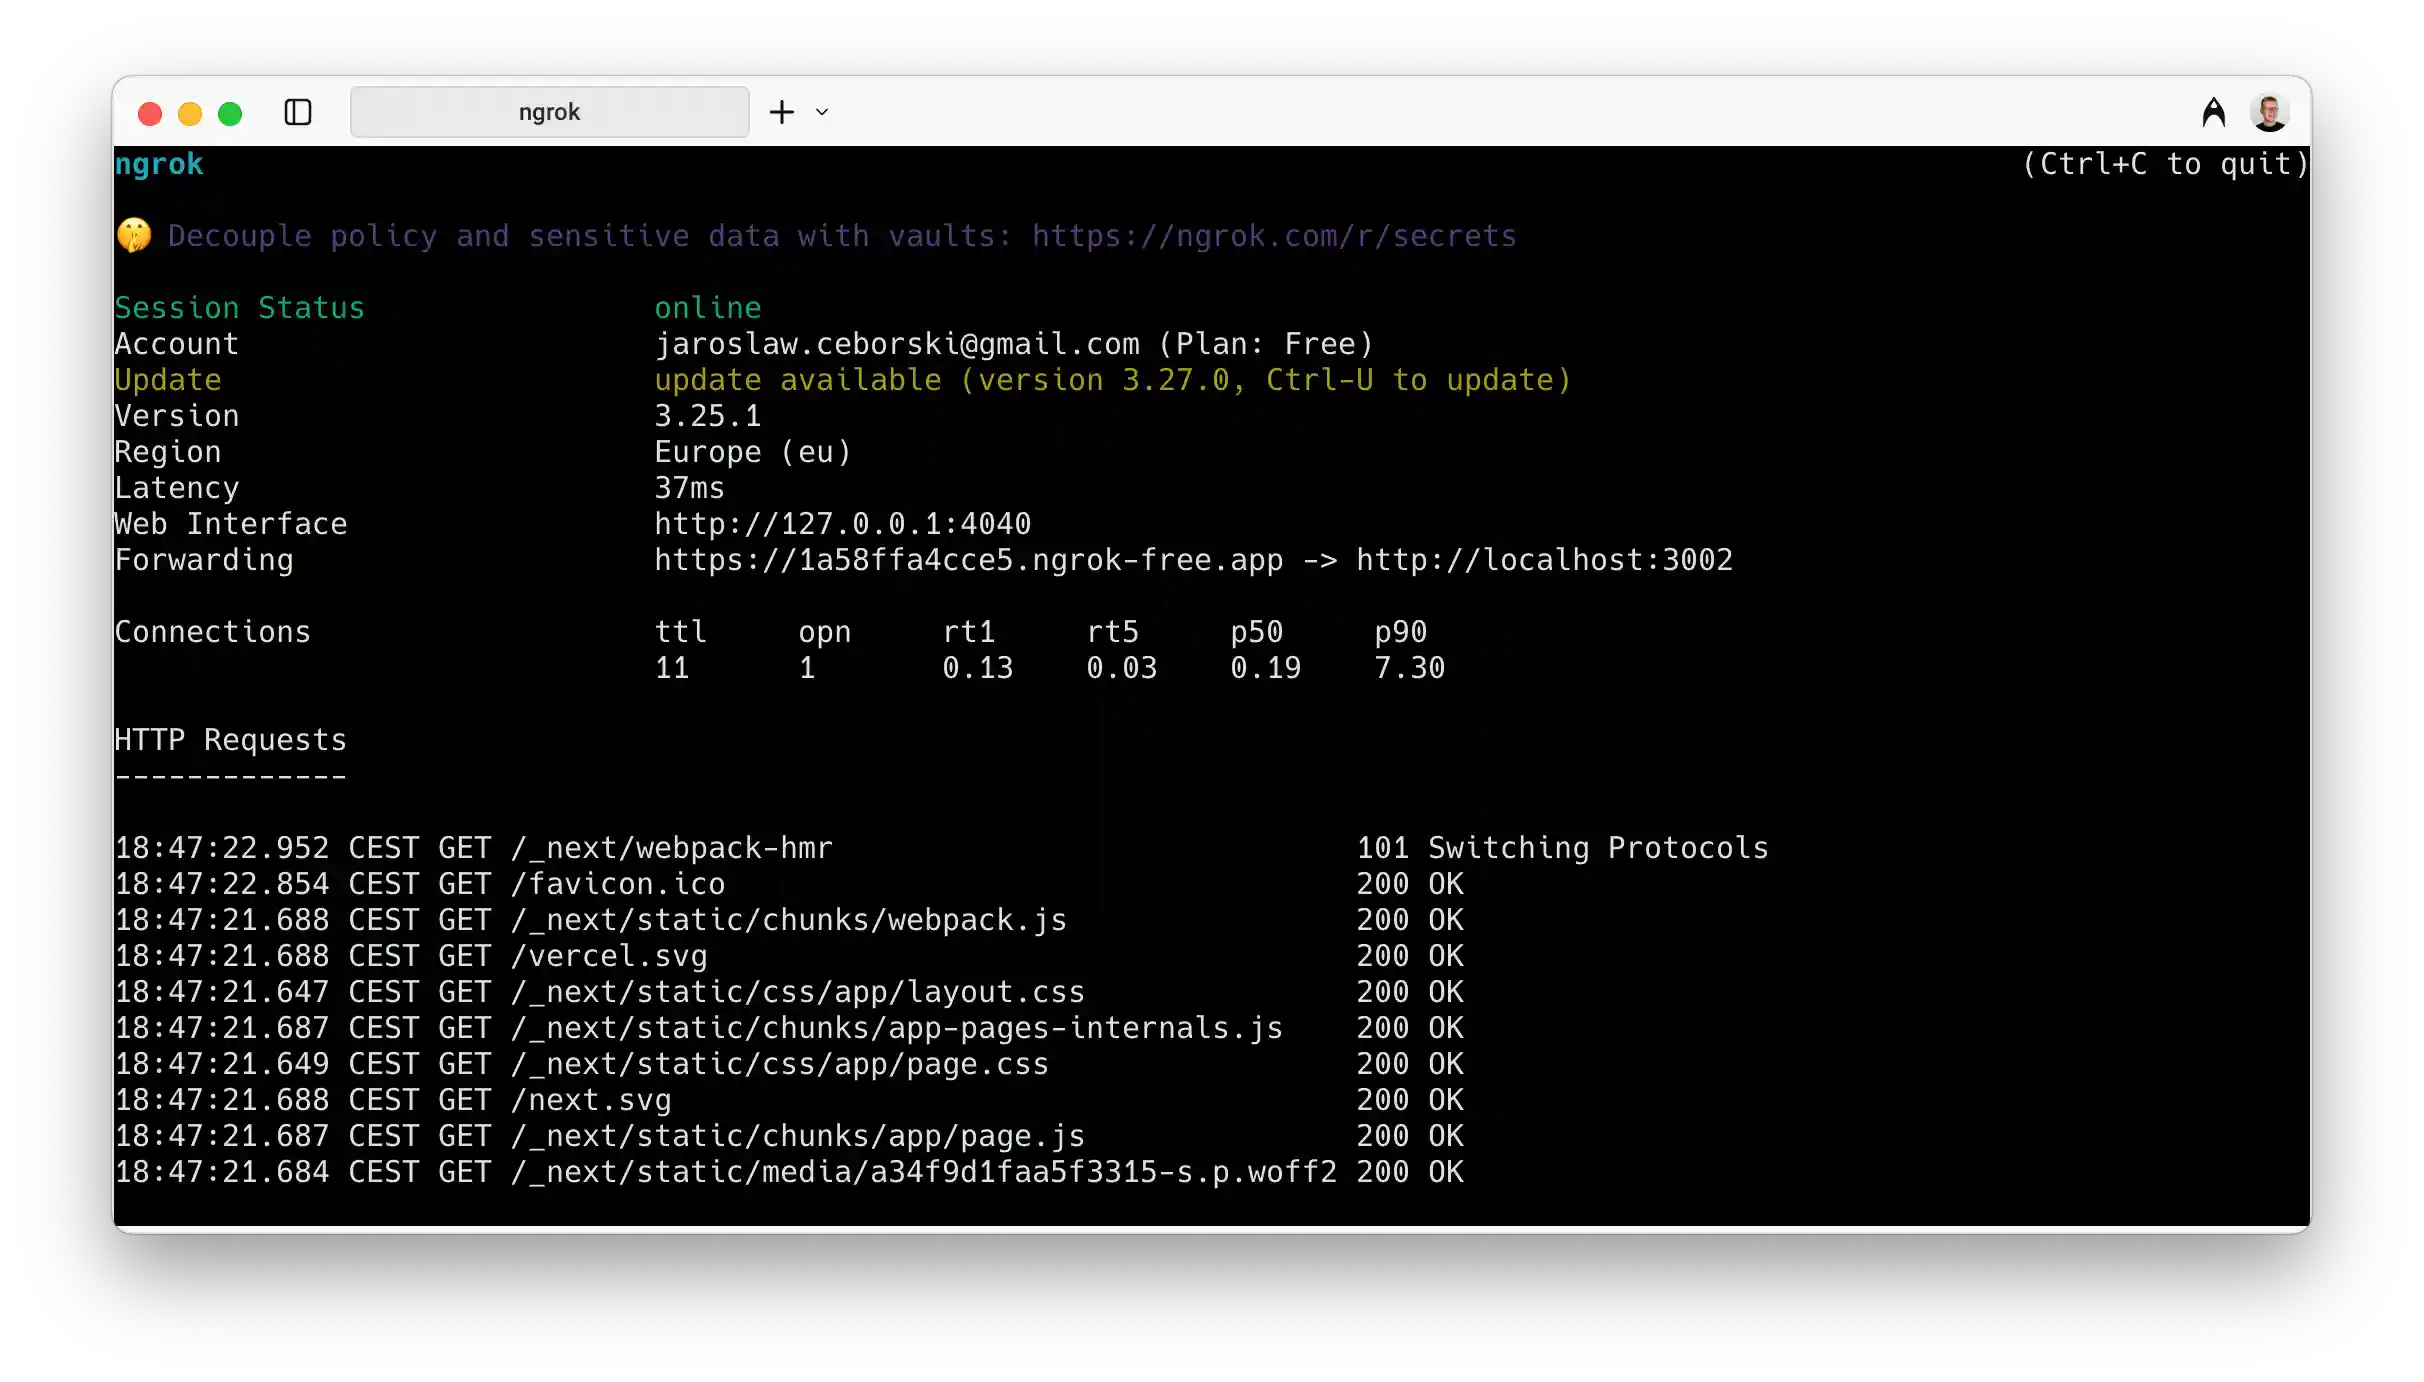
ngrok stands as one of the most popular local tunneling solutions, offering robust features for both individual developers and enterprise teams. Installation involves downloading a single binary executable that works across all major platforms without additional dependencies.
The basic command structure follows a simple pattern: ngrok http 3000 creates an HTTP tunnel to your local server running on port 3000. For TCP tunnels, use ngrok tcp 22 to expose services like SSH. To serve on a reserved or custom domain instead of a random one, pass it with the --url flag:
ngrok http 8080 --url myapp.ngrok.app
The free plan allows up to 3 online endpoints, 1 GB of data transfer and 20,000 HTTP requests per month, and one assigned dev domain on ngrok-free.app. Browser visitors on the free plan see an interstitial warning page before your app loads, and TCP endpoints require a payment method on file. Paid plans start at $10/month (Hobbyist), while custom domains need the Pay-as-you-go plan at $20/month plus usage. The web interface at localhost:4040 provides real-time monitoring of tunnel traffic, request inspection, and request replay. If those limits don't fit, see ngrok alternatives compared on free tiers and price.
Custom domains require a CNAME record pointing to ngrok’s servers, while reserved domains and TCP addresses maintain consistent URLs across sessions. Authentication options include basic auth, OAuth integration, and IP restrictions, all configured through Traffic Policy files rather than the command line flags of earlier versions.
LocalCan
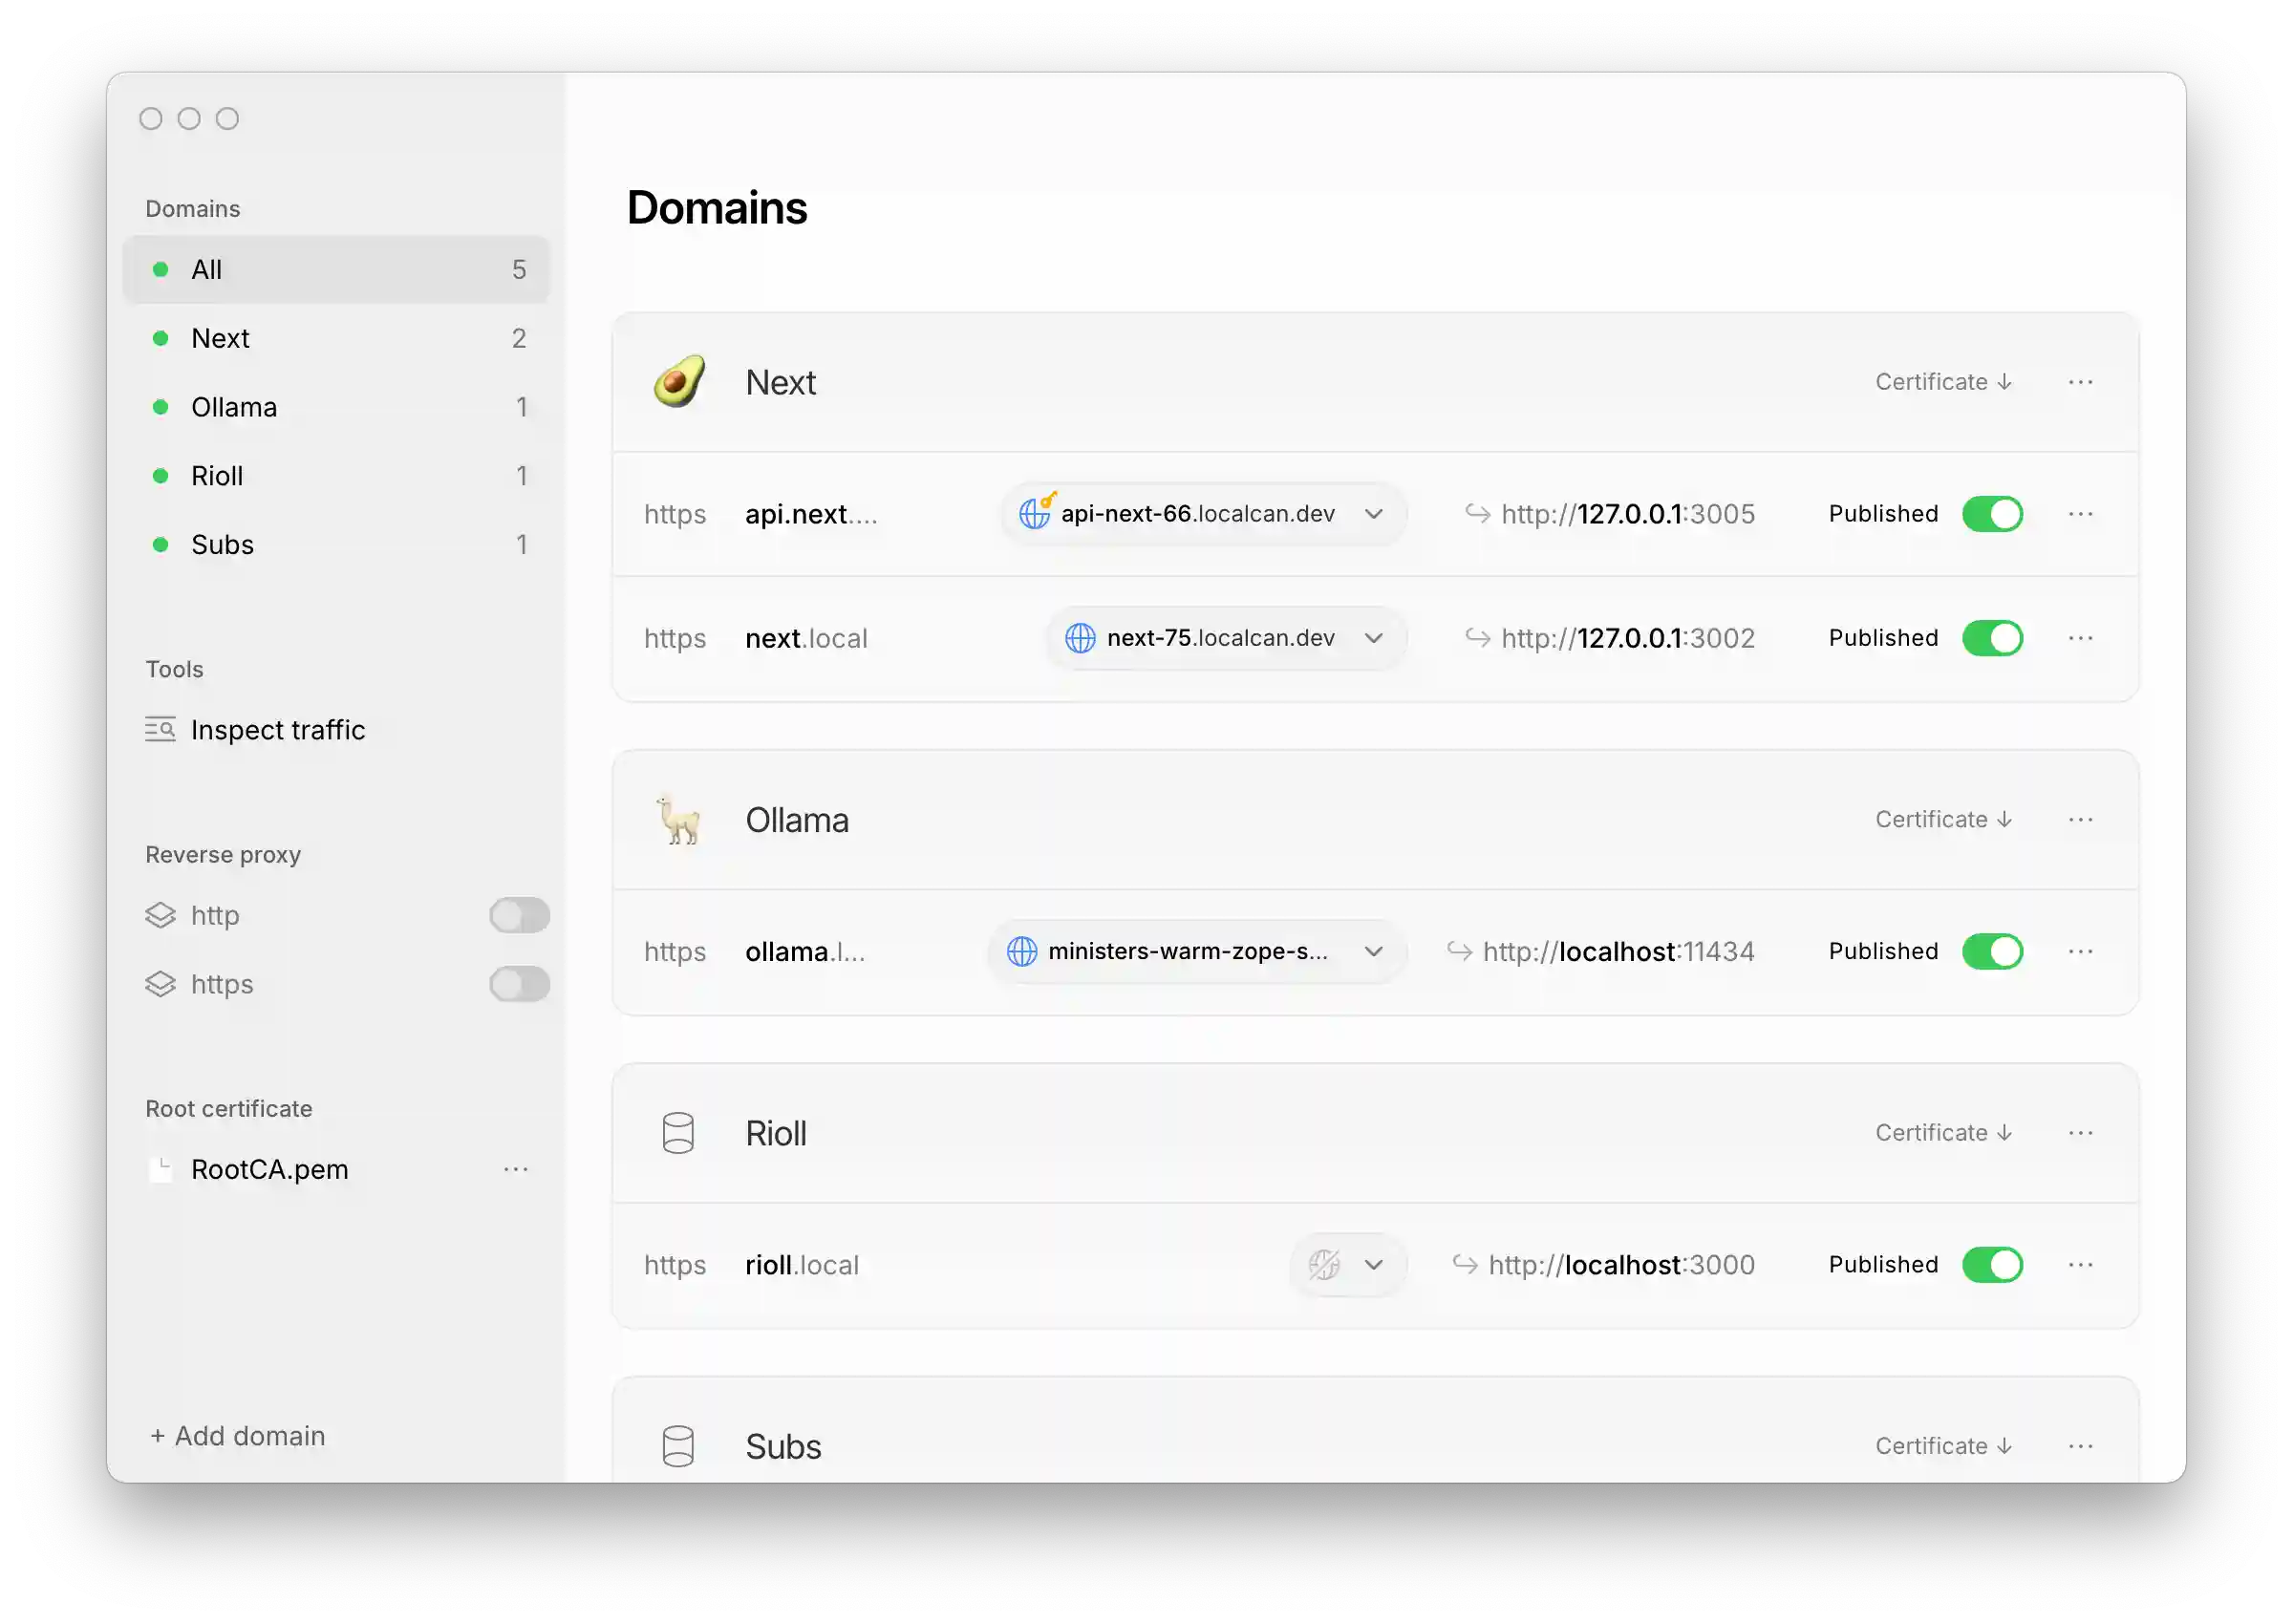
LocalCan pairs a desktop app for macOS and Windows with a localcan command line tool that also runs on Linux (CLI only there). The app handles day-to-day tunnel management and monitoring, and the CLI gives you a Public URL (LocalCan's name for a tunnel) in one command:
localcan http 3000
The command prints a .local domain for your network, the Public URL, and a live request log. localcan tcp 5432 does the same for raw TCP services like databases and SSH. On paid plans Public URLs persist: pause one and the address stays reserved for up to 7 days, so webhook and OAuth callback URLs don't change between sessions.
Built-in traffic inspection lets you monitor requests and responses in real time and replay any of them, which speeds up webhook debugging and API development. Custom domains come with automatic HTTPS certificates. Header rewriting and basic auth are configured per endpoint, in the app or in plain YAML project files you can keep in version control.
Access control goes beyond basic auth: protect a Public URL with a password page, a secret link, or IP rules, enforced on LocalCan's servers so the protection keeps working while your laptop is asleep. Snapshots publish a static copy of your app that keeps serving at the same URL while you are offline, and reviewers can pin Comments directly on the page. An MCP server lets AI coding agents such as Claude Code, Codex, and Cursor open and manage Public URLs on their own.
A unique feature of LocalCan is its support for .local domains with HTTPS, enabling 100% local development without external dependencies. This capability proves particularly valuable for teams requiring secure local testing environments or applications with strict localhost requirements.
LocalCan has a Free plan with one live Public URL at a time (60-minute sessions, 1 GB per month) and Snapshots included. Paid plans start at $10/month with a 14-day trial and no credit card, adding TCP tunnels, custom domains, and Access control. A one-time Lifetime License is available if you prefer to skip subscriptions.
Pinggy
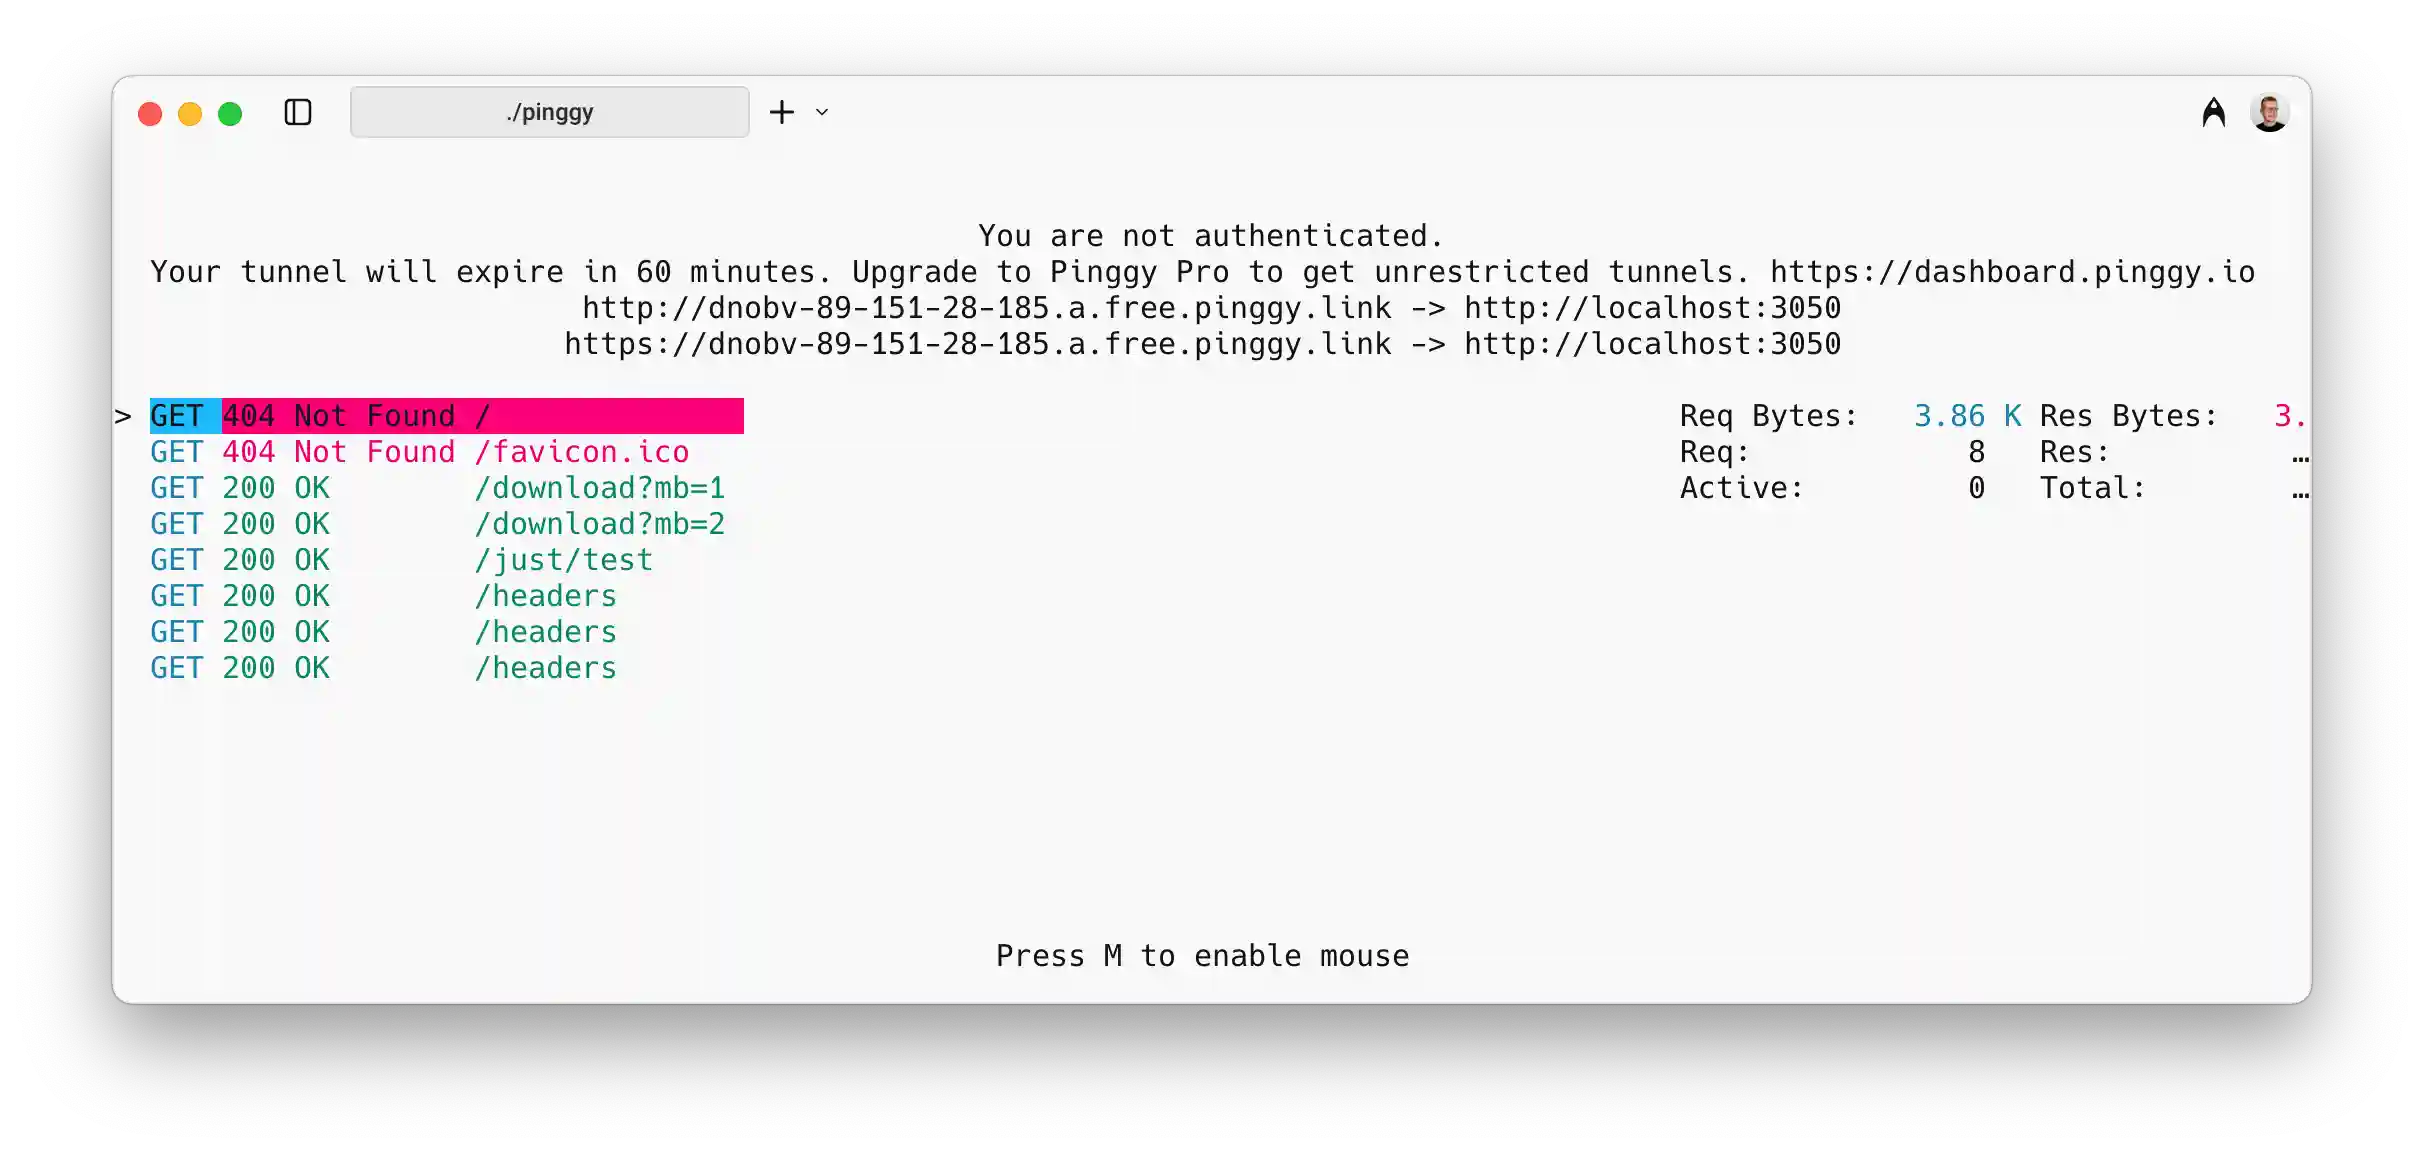
Pinggy distinguishes itself through simple one-command setup without requiring platform-specific installations. The service operates entirely through SSH, eliminating the need for dedicated client software on most systems.
Setting up a tunnel requires only a single command: ssh -p 443 -R0:localhost:3000 a.pinggy.io. This approach supports HTTP, TCP, and TLS tunnels with automatic HTTPS certificate provisioning. The simplicity makes Pinggy particularly attractive for quick demonstrations and temporary access needs.
The dashboard provides access to persistent subdomains and access tokens for consistent tunnel URLs. Custom domain linking capabilities enable permanent URLs that integrate seamlessly with existing infrastructure and branding requirements.
Pinggy’s infrastructure spans multiple regions, ensuring low latency connections for global users. The service includes built-in security features like rate limiting and connection monitoring without requiring additional configuration.
LocalXpose
LocalXpose offers both GUI and CLI client options, accommodating different user preferences and workflow requirements. The platform provides built-in authentication, rate limiting, and security middlewares that protect exposed services without manual configuration.
Multiple server regions across the US, Asia-Pacific, and Europe ensure optimal performance for global teams. Users can select regions closest to their target audience, minimizing latency and improving user experience for external services accessing local tunnels.
Wildcard domains and automatic Let’s Encrypt certificate generation streamline SSL setup for secure connections. These features enable professional deployments without manual certificate management or complex DNS configurations.
The GUI client simplifies tunnel creation and monitoring for users preferring graphical interfaces, while the CLI maintains compatibility with automated scripts and CI/CD pipelines.
Beeceptor
Beeceptor integrates tunneling capabilities with API mocking features, creating a comprehensive development toolkit. This combination proves valuable for frontend developers working with evolving backend APIs or teams requiring mock services for testing.
The request/response monitoring dashboard provides detailed insights into API interactions, including headers, payloads, and response times. These debugging capabilities accelerate development and troubleshooting processes.
Installation options include NPM packages for Node.js projects and standalone executables for broader compatibility. The NPM integration enables seamless incorporation into existing development workflows and build processes.
The free plan includes 50 requests per day, suitable for basic testing and evaluation. Paid plans remove limitations and add advanced features like custom domains and enhanced monitoring capabilities.
Setting Up Your First Local Tunnel
Before creating your first tunnel, ensure your local service is running and accessible on the specified port. Common development servers run on ports 3000, 8000, or 8080, while databases typically use ports like 5432 (PostgreSQL) or 3306 (MySQL).
For HTTP tunneling, start with a simple web application. If you have a development server running on port 3000, create a tunnel with ngrok:
ngrok http 3000
Or with LocalCan:
localcan http 3000
Either command generates a public address like https://abc123.ngrok-free.app↗ or https://my-app.localcan.dev↗ that routes traffic to your localhost:3000. The HTTPS endpoint includes automatic SSL certificates, enabling secure external access without additional configuration.
TCP tunneling requires specifying the protocol explicitly. To expose an SSH server running on port 22:
ngrok tcp 22
Or with LocalCan:
localcan tcp 22
The output provides a TCP endpoint like tcp://1.tcp.ngrok.io:12345 or tcp://my-app.localcan.dev:12345 that forwards connections to your local SSH service. External users can connect using standard SSH clients with the provided hostname and port.
Common setup issues include port conflicts and firewall restrictions. The tunnel client runs on the same machine as your app and connects to it over localhost, so binding your dev server to 127.0.0.1 is fine and keeps it off your local network. Check that no other applications use the same port, and temporarily disable local firewalls if connection problems persist.

Use Cases and Applications
Local tunneling serves numerous practical applications in modern development workflows, from webhook testing to collaborative development environments.
Webhook development represents one of the most common use cases. Services like GitHub, Stripe, and PayPal require public HTTPS endpoints to deliver real-time notifications. Local tunnels provide these endpoints instantly, enabling webhook testing without deploying code to staging servers. The following command creates a webhook-ready tunnel on a reserved domain, so the URL you register with the provider keeps working tomorrow:
ngrok http 8080 --url webhook-test.ngrok.app
With LocalCan the same holds without extra flags, since a Public URL keeps its address across sessions on paid plans.
Remote demonstration capabilities prove invaluable when showcasing local web applications to clients and stakeholders. Instead of deploying incomplete features to staging environments, developers can share tunnel URLs that provide immediate access to local development servers. This approach accelerates feedback cycles and reduces deployment overhead. LocalCan's Snapshots extend this past the call: publish a static copy and the same link keeps working after you close the laptop, with the client's feedback pinned as Comments on the page.
Mobile app development benefits significantly from local tunneling when testing against local API backends. Mobile devices can access local servers through tunnel URLs, enabling realistic testing scenarios without complex network configurations or device-specific setup requirements. For React Native, here is how to replace npx expo start --tunnel with your own Public URL.
IoT device communication scenarios leverage tunneling for remote monitoring and control systems. Devices in the field can establish secure connections to local development environments, facilitating real-time debugging and configuration updates without physical access.
Collaborative development environments use tunneling to share local services among distributed team members. Multiple developers can access shared databases, API endpoints, or development tools through secure tunnels, creating unified development experiences regardless of physical location.
Temporary file sharing and quick prototyping workflows benefit from tunneling’s instant setup capabilities. Teams can share local applications, documents, or tools without deploying to permanent hosting infrastructure, reducing overhead for short-term projects and experiments.
AI coding agents are a newer use case. An agent working in Claude Code, Codex, or Cursor can open a tunnel itself to test a webhook, run an OAuth flow, or hand you a preview link, with no GUI to click through. LocalCan exposes this through its CLI, where every command has a --json mode, and through an MCP server, which is handy in headless or sandboxed environments where the agent has no screen to share.
Security Considerations and Best Practices
Exposing local services through tunneling introduces security risks that require careful consideration and mitigation strategies. Understanding these risks enables informed decisions about when and how to use tunneling safely.
Primary security risks include data leakage through unsecured endpoints, unauthorized access to internal services, and potential man-in-the-middle attacks. Local development environments often contain sensitive data, hardcoded credentials, or debug information that shouldn’t be publicly accessible.
Strong authentication methods form the foundation of secure tunneling. Most services support API keys, OAuth integration, and basic authentication mechanisms. Implement these controls before sharing tunnel URLs. In ngrok, basic auth is a Traffic Policy rule:
on_http_request:
  - actions:
    - type: "basic-auth"
      config:
        credentials:
          - "username:password"
ngrok http 3000 --traffic-policy-file policy.yml
IP whitelisting provides additional access control by restricting tunnel access to specific IP addresses or ranges. This approach proves particularly effective for team-based development where authorized users connect from known locations.
Where the check runs matters too. Basic auth configured on the tunnel client is checked by your machine, so it only covers traffic that reaches a live tunnel. LocalCan's Access control runs on its servers instead: a password page, a secret link, or IP rules are enforced before a request is forwarded, and the same rules cover Snapshots served while you are offline.
HTTPS/TLS encryption should be mandatory for all tunnel communications, especially when handling sensitive data. Most modern tunneling services enable HTTPS by default, but verify encryption status before sharing endpoints externally.
Monitoring and logging tunnel traffic enables security auditing and incident response. Many services provide dashboards showing connection logs, request details, and user activity. Regular review of these logs helps identify unauthorized access attempts or suspicious activity patterns.
Avoid exposing production data through development tunnels by using separate datasets, sanitized information, or mock services for external demonstrations. This practice prevents accidental disclosure of customer information or proprietary data through tunnel endpoints.
Advanced Configuration Options
Advanced tunneling configurations enable professional deployments with custom branding, enhanced security, and optimized performance characteristics.
Custom domain setup requires DNS configuration pointing your domain to the tunneling service’s servers. Most services provide specific DNS records (CNAME or A records) that enable custom domain functionality:
ngrok http 3000 --url https://api.mycompany.com
Or with LocalCan:
localcan http 3000 --domain api.mycompany.com
SSL certificate management becomes crucial for custom domains. Services like ngrok, LocalCan, and LocalXpose issue certificates automatically once DNS is in place, while enterprise solutions may require manual certificate installation or integration with existing certificate management systems.
Load balancing across multiple local services distributes traffic for improved performance and redundancy. ngrok calls this endpoint pooling (Pay-as-you-go plan): start several agents on the same URL with pooling enabled and traffic is balanced between them automatically:
ngrok http 3000 --url https://api.mycompany.com --pooling-enabled=true
Header modification capabilities enable request transformation for compatibility with existing systems. Custom headers can be added, removed, or modified to meet specific application requirements or security policies. A common case is rewriting the Host header so a virtual-host app (a Laravel Herd or Valet site, an nginx server_name) serves the right site behind the tunnel. LocalCan does this with a per-endpoint header rule, or -H "Host: {{target_host}}" on the command line.
Rate limiting and traffic shaping controls prevent abuse and ensure consistent performance. Configure these settings based on expected usage patterns and infrastructure capacity:
-
Connection limits per IP address
-
Request rate restrictions
-
Bandwidth throttling for large file transfers
-
Concurrent connection caps
Alternatives to Third-Party Tunneling Services
While managed tunneling services offer convenience and reliability, several alternatives provide greater control and customization options for specific use cases.
Self-hosted solutions using VPS and SSH port forwarding offer complete control over the tunneling infrastructure. This approach requires a remote server but eliminates dependencies on third-party services:
ssh -R 8080:localhost:3000 user@your-vps.com
The VPS acts as the tunnel server, providing a public endpoint while maintaining full control over security, performance, and availability. This option suits organizations with specific compliance requirements or those requiring guaranteed uptime.
Cloudflare Tunnel (formerly Argo Tunnel) provides enterprise-grade tunneling through Cloudflare’s global network. This solution offers enhanced security, DDoS protection, and integration with Cloudflare’s suite of security and performance services. Setup requires the cloudflared daemon:
cloudflared tunnel --url localhost:3000
Enterprise solutions and on-premises tunneling setups cater to large organizations requiring dedicated infrastructure. These systems often integrate with existing network architecture, identity management systems, and security frameworks.
Cost comparison reveals significant differences between approaches. Managed services offer predictable monthly costs but may become expensive for high-volume usage. Self-hosted solutions require upfront server costs but provide unlimited usage. Enterprise solutions typically involve custom pricing based on scale and requirements.
Control and complexity trade-offs influence solution selection. Managed services minimize operational overhead but limit customization options. Self-hosted approaches provide maximum flexibility but require technical expertise and ongoing maintenance.
Troubleshooting Common Issues
Local tunneling implementations often encounter predictable issues that can be resolved through systematic troubleshooting approaches.
Connection timeouts and tunnel disconnection problems frequently result from network instability or service limitations. Check your internet connection stability and verify that the tunneling service status pages report normal operations. Many services implement automatic reconnection, but manual restarts may be necessary for persistent issues.
Port conflicts occur when multiple applications attempt to use the same local port. Use tools like netstat or lsof to identify port usage:
netstat -tulpn | grep :3000
If conflicts exist, either stop the conflicting application or choose a different port for your local service.
DNS resolution and domain propagation delays affect custom domain configurations. DNS changes can take 24-48 hours to propagate globally, though many changes appear within minutes. Use DNS lookup tools to verify propagation status and confirm proper record configuration.
Firewall and antivirus software may block tunneling client connections or interfere with local service access. Temporarily disable these protections to isolate connectivity issues, then configure appropriate exceptions for production use.
Performance optimization becomes important for high-traffic tunnels. Consider these factors:
-
Choose tunnel servers geographically close to your users
-
Use TCP tunnels for low-latency applications
-
Enable compression when available
-
Monitor bandwidth usage to identify bottlenecks
FAQ
Is local tunneling safe for production environments?
Local tunneling is generally not recommended for production environments due to security and reliability concerns. Production systems should use dedicated hosting infrastructure, load balancers, and proper security measures. Tunneling services are designed for development, testing, and temporary access scenarios where convenience outweighs the security trade-offs inherent in exposing local services to the internet.
What happens if the tunneling service goes down?
When a tunneling service experiences downtime, your tunnel connections will be lost and external users won’t be able to access your local services. Most reputable services maintain high uptime (99%+) and provide status pages for monitoring service health. For critical applications, consider using multiple tunneling providers or implementing fallback mechanisms to ensure continuity.
Can I use multiple tunnels simultaneously on different ports?
Yes, most tunneling services support multiple concurrent tunnels, though limitations depend on your service plan. Free tiers typically allow 2-3 simultaneous tunnels, while paid plans offer higher limits or unlimited tunnels. Each tunnel can expose different local services running on various ports, enabling complex development setups with multiple applications accessible through separate public endpoints.
How does tunneling affect application performance and latency?
Tunneling introduces additional network hops that can increase latency by 50-200ms depending on the service’s server locations and your geographic distance from them. Bandwidth may also be limited by the tunneling service’s infrastructure. For performance-critical applications, choose services with servers close to your target users and consider upgrading to paid plans that offer better performance guarantees.
Are there bandwidth limitations with free tunneling services?
Most free tunneling services implement bandwidth restrictions, connection limits, or request quotas to manage resource usage. For example, free plans might limit you to 1GB of data transfer per month or restrict the number of concurrent connections. These limitations are typically sufficient for development and testing but may be inadequate for production-like traffic volumes or intensive testing scenarios.
Conclusion
Local tunneling has become an essential tool for developers and testers who need to expose local services securely and efficiently to the public internet. Whether for webhook testing, remote collaboration, API integration, or rapid prototyping, local tunnels provide a convenient alternative to complex network configurations and traditional port forwarding.
When choosing a tunneling solution, consider your specific needs such as protocol support (HTTP, TCP, UDP), ease of setup, security features like authentication and encryption, and customization options including custom subdomains and domains. Several popular tools offer robust features and user-friendly interfaces to help you get started quickly.
We recommend trying out the following local tunneling applications:
-
LocalCan: A desktop app for macOS and Windows plus a CLI that also runs on Linux, with built-in traffic inspection, custom domains, server-side Access control, and Snapshots that keep a link alive while you are offline. A good fit if you want persistent Public URLs and a Free plan to start with.
-
ngrok: A widely used tool that supports multiple protocols and provides features like reserved tunnels, custom domains, and real-time traffic monitoring through its web interface.
-
Pinggy: Offers simple one-command SSH-based tunneling with support for HTTP, TCP, and TLS tunnels, along with persistent subdomains and global infrastructure.
-
LocalXpose: Provides both web GUI and CLI clients, multiple protocol support, and built-in security middlewares, suitable for users who want flexibility and enhanced security controls.
-
Beeceptor: Combines tunneling with API mocking and request inspection, ideal for frontend developers and teams working with evolving backend APIs.
Experimenting with these tools will help you identify the best fit for your development workflow and security requirements. By leveraging local tunneling effectively, you can streamline development, enable collaboration, and overcome network restrictions with confidence.